6. Pro add-ons
Pro add-ons are paid extra features, sold singly in the shop. Without an add-on, the switches show a 🔒 and a hint leads to the shop. How to install them is in chapter 7.
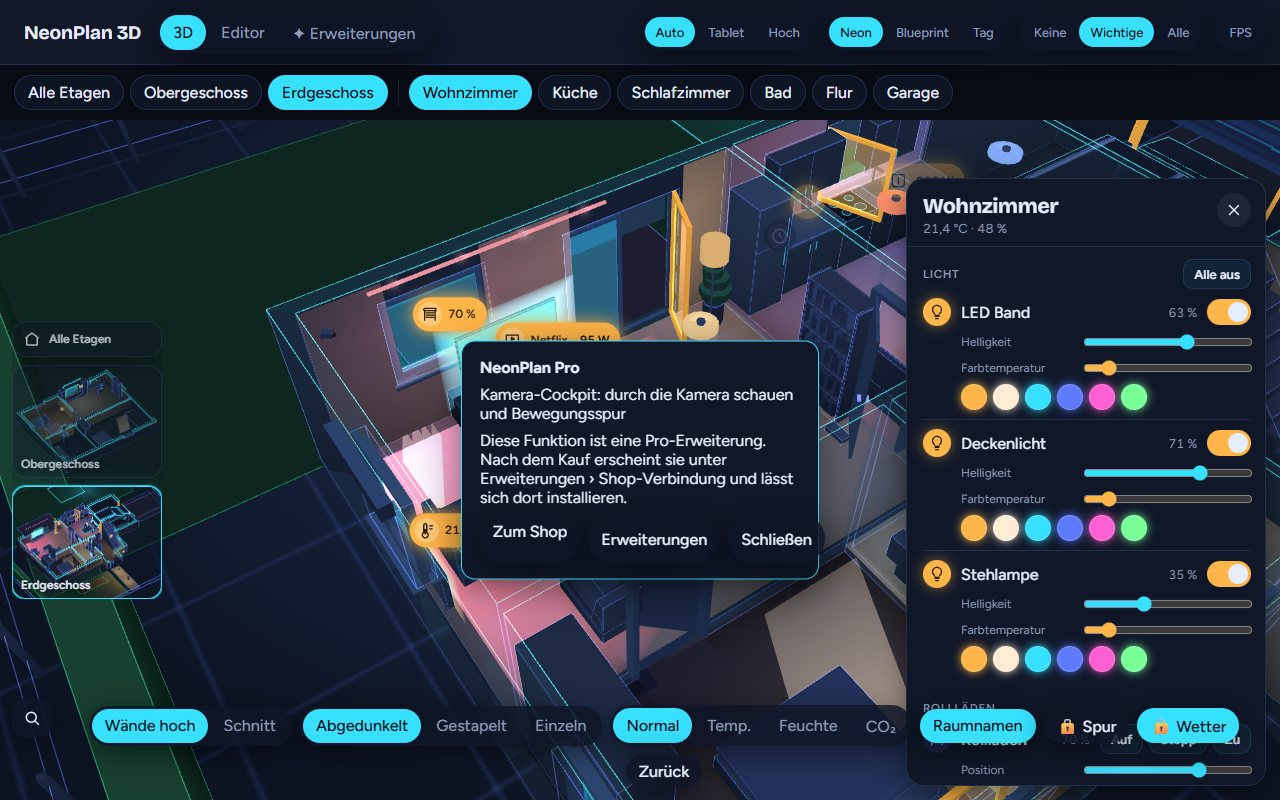
6.1 Camera cockpit
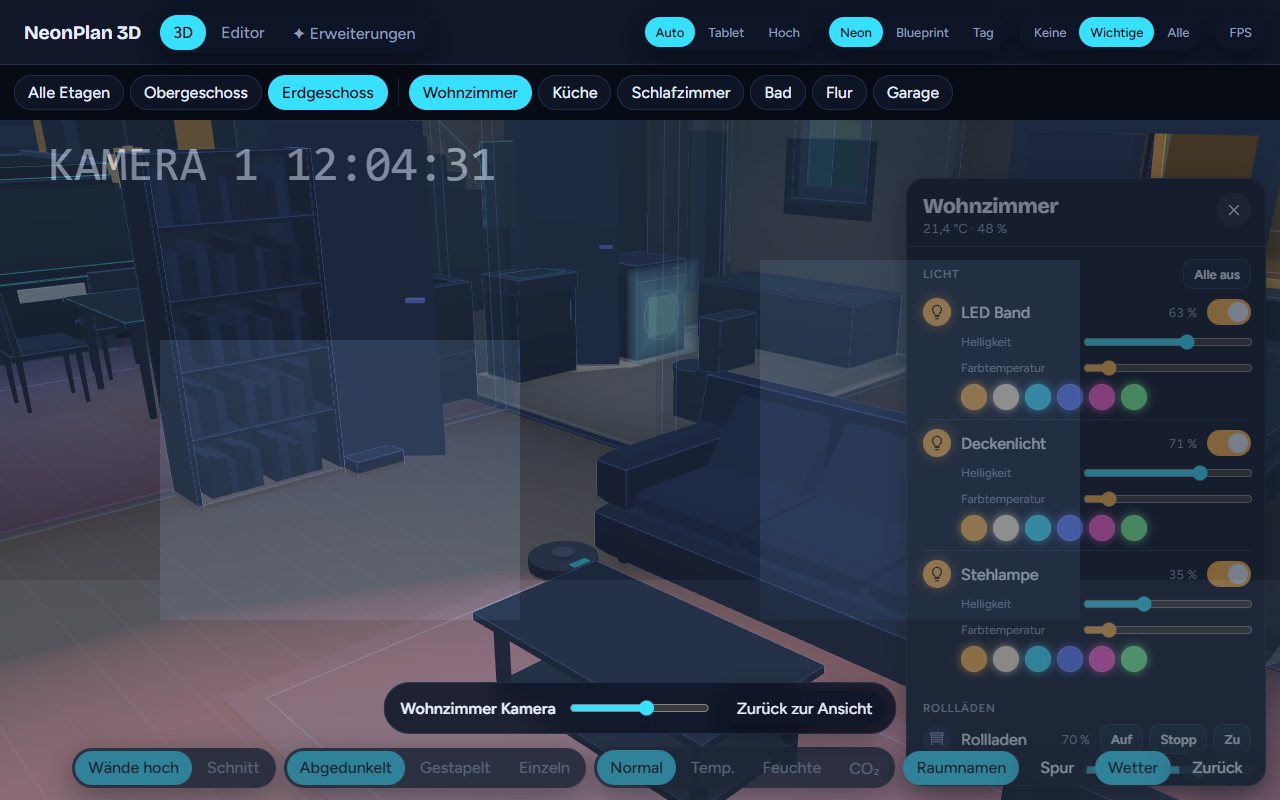
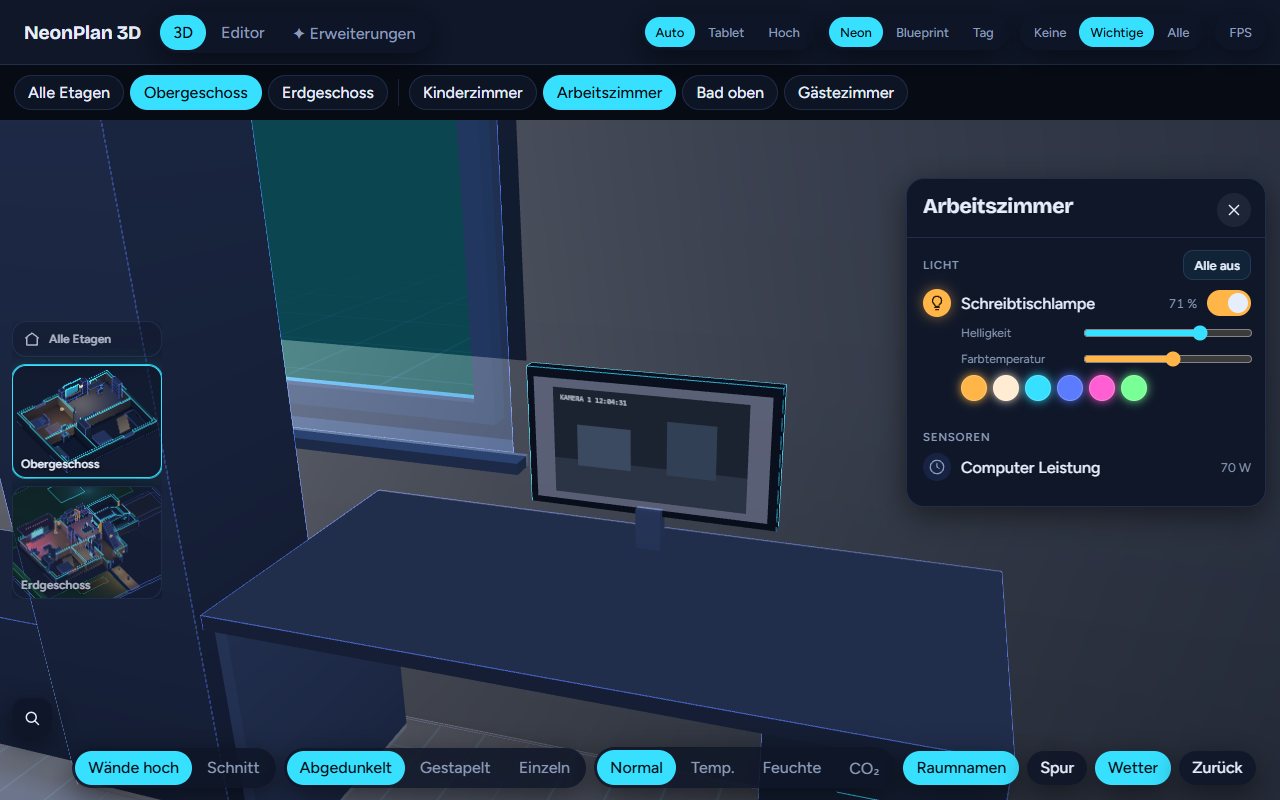
Look through the camera: The snapshot menu of a camera and the room panel offer "Look through the camera". The 3D view flies to the camera's spot and looks along its direction, with the live picture blended over the scene. The slider at the bottom sets the blend, "Back to the view" flies back. If the picture does not line up, correct the camera's rotation and tilt in the editor.
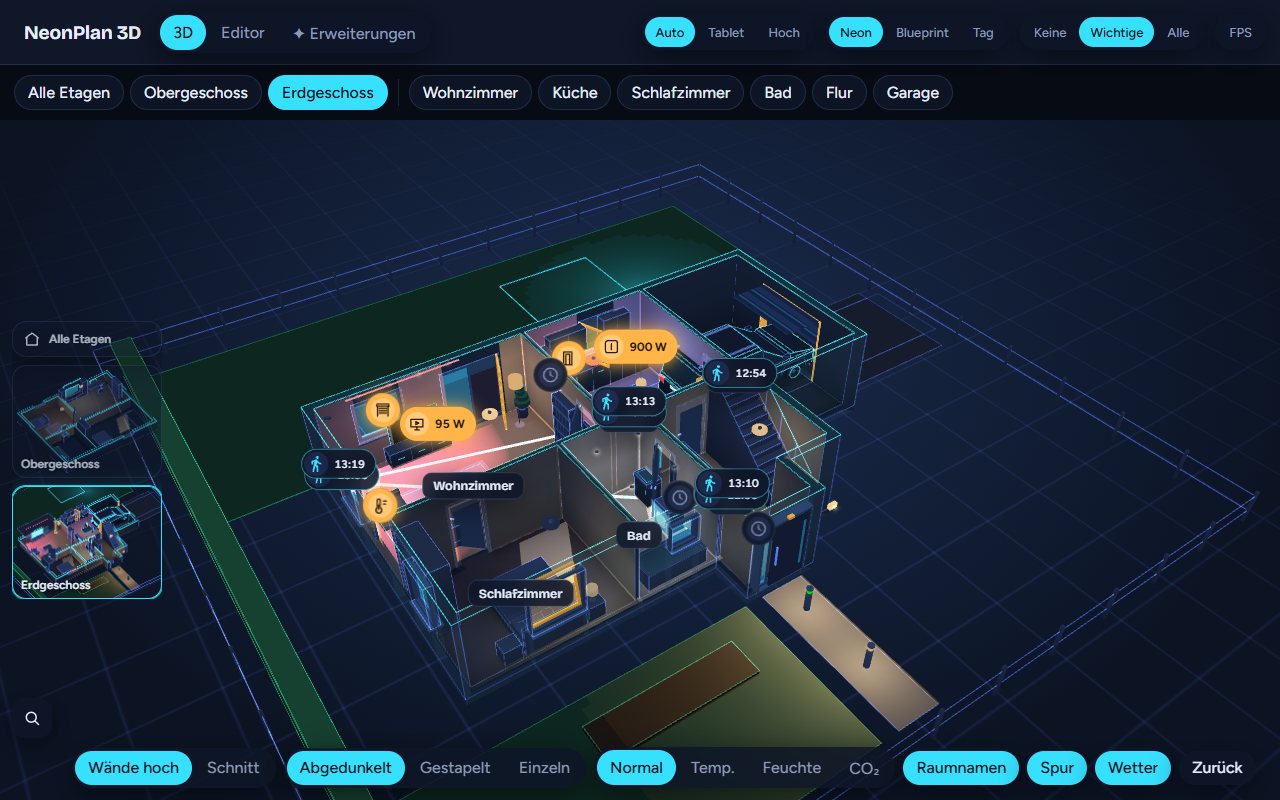
Motion trail: The Trail switch shows where motion was reported in the last 30 minutes: glowing spots with the time, joined in order, older ones fading. Sources are motion, presence and occupancy sensors. Sensors placed in the plan sit at their spot, camera sensors at the camera, all others in the middle of their room. The data comes from Home Assistant's history and reloads every minute.
6.2 Weather outside
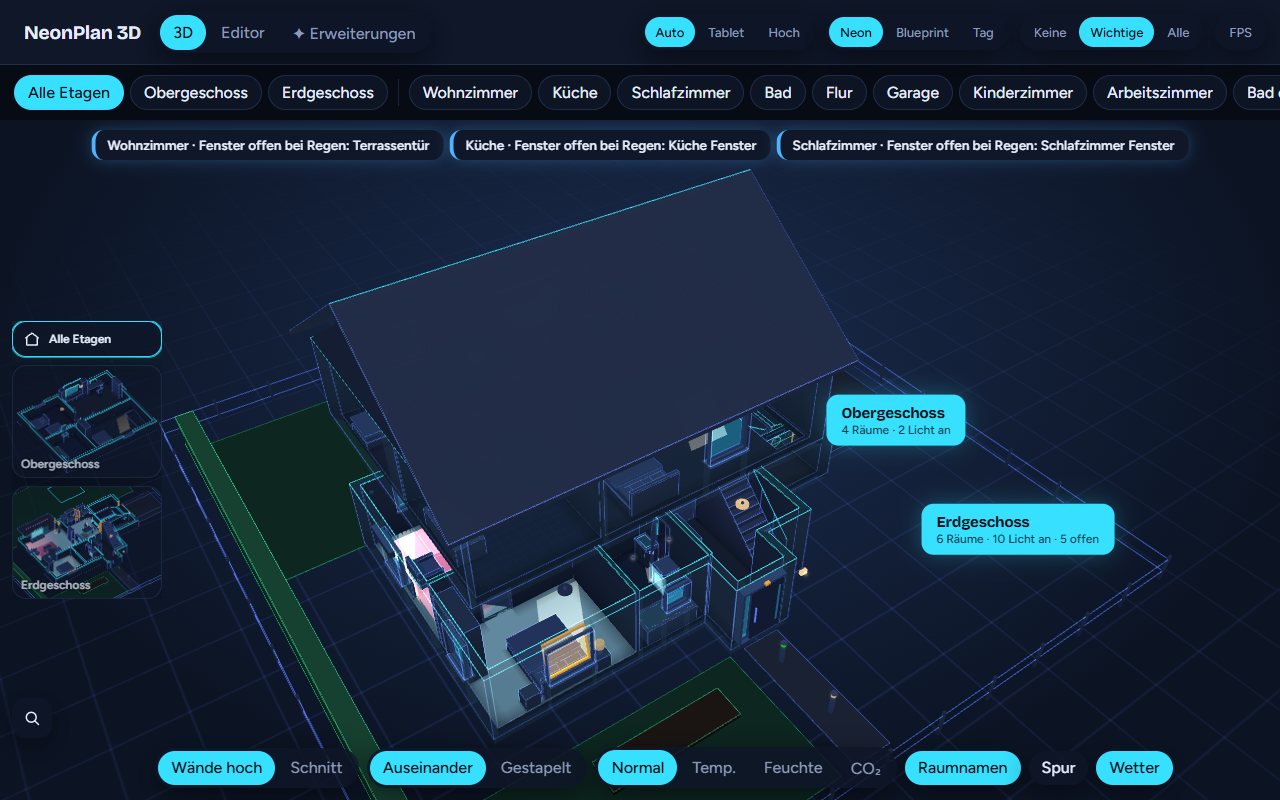
The weather around the house follows your weather entity:
| State | In 3D |
|---|---|
| rainy, pouring, hail | Rain, with clouds |
| snowy, snowy-rainy | Snow, both for sleet |
| lightning, lightning-rainy | Lightning, with rain for the second |
| fog | Fog, only if switched on |
| cloudy, partlycloudy | Clouds dim the sky and the sunlight |
| windy | Wind drives rain and snow at an angle |
| sunny, clear-night | Sun by day, moon by night |
If the entity provides cloud_coverage and wind_speed, NeonPlan 3D uses them.
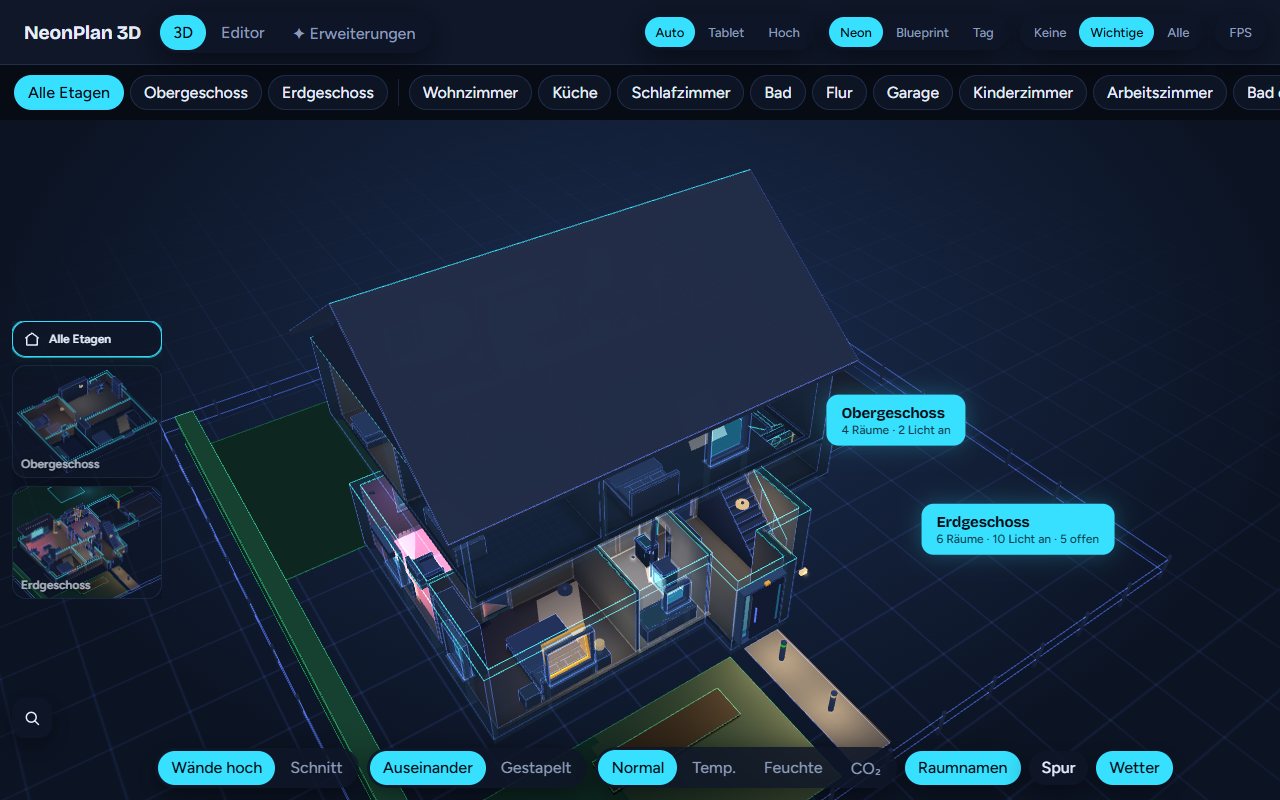
Settings in the editor: Weather entity picks the entity, Weather effects in 3D switches single effects off. Fog starts off because it greys the whole scene. At the Tablet quality level only the dimming by clouds remains.
6.3 Live screens
Without this add-on a TV only glows while it is on. With it:
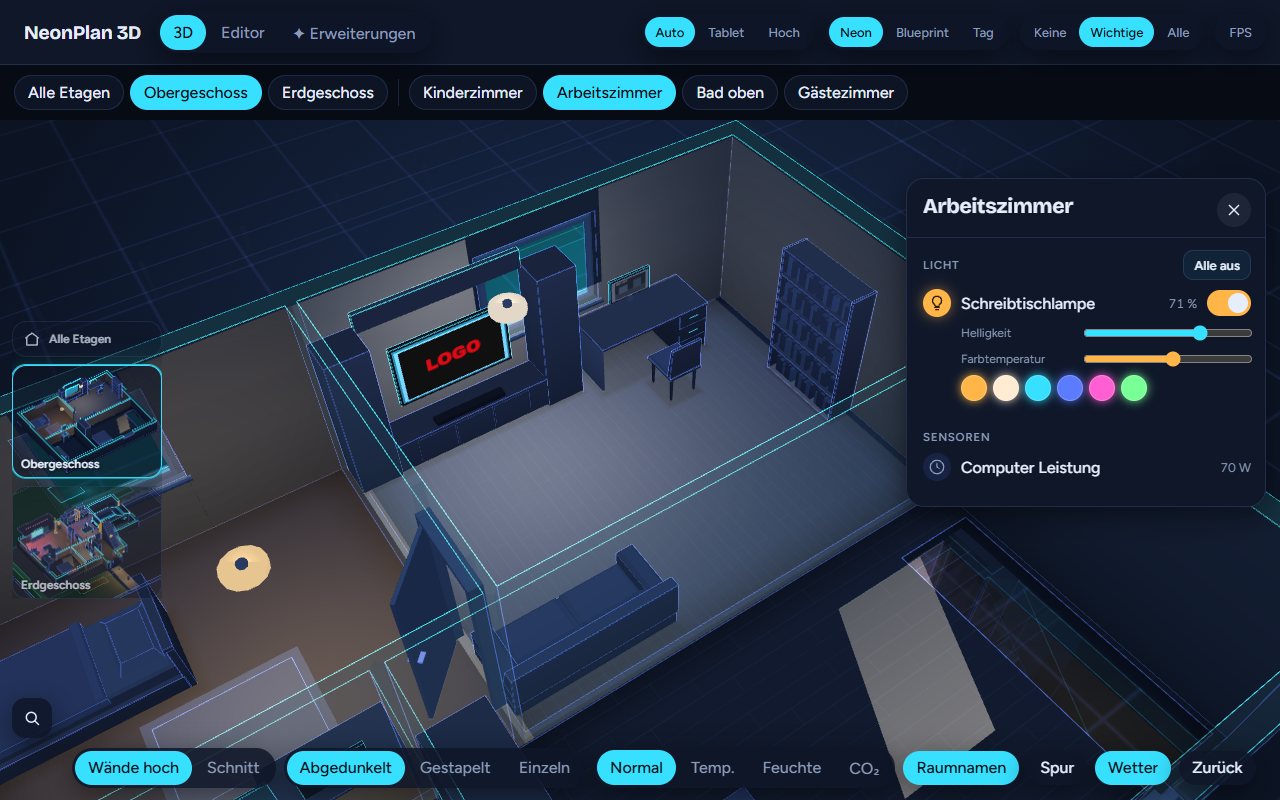
- TVs and monitors show the colour of the running app and the media player's artwork.
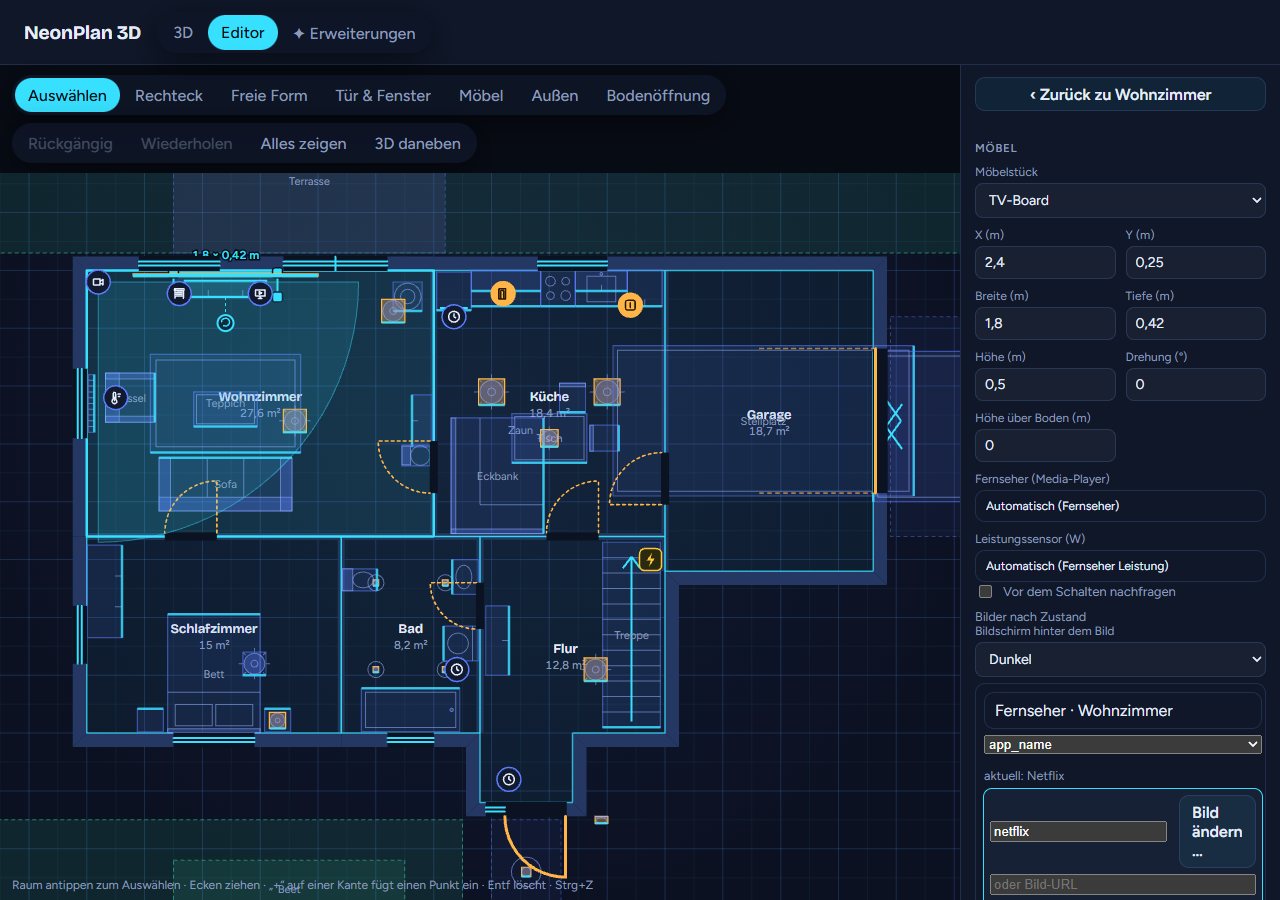
- Pictures by state: Add rules to a screen item. When an entity is in a certain state or an attribute has a value, the screen shows a picture. Example: the TV's attribute
app_namecontains "netflix", so the Netflix logo appears. A value matches when it is equal or contained in the text,*always matches. The first matching rule wins. - A picture can be an upload, scaled to 512 pixels, a picture URL or a camera. A camera picture refreshes every 5 seconds while it is visible.
- Screen behind the picture: dark or white, depending on whether the logo is light or dark.
- "✓ matches now" on a rule shows which picture is visible right now. Uploaded pictures can be reused on other screens.
6.4 Energy Pro
Energy Pro turns the Energy tool into a living picture of your plant: power visibly flows through the house, the solar modules live with the sun, and a glass hologram shows the balance. Everything you set up for it is free and described in 4.20; Pro unlocks the display. Gas, water and heat follow as updates of the same pack.
Set up in five minutes
At the top of the Energy tool sits the Setup list: it ticks off what is in place and jumps to the right spot when tapped.
- Solar field: + Solar field puts modules on the sunniest roof face (4.20).
- Devices: add the meter, inverter, home battery, wallbox and grid connection. They land in the garage or utility room by themselves and can be dragged in the plan.
- Sensors: easiest with Take over from the energy dashboard (Energy balance section): NeonPlan takes the statistics of your energy dashboard, finds the power sensor of the same device for each and puts it on the meter (grid), the inverter (PV) and the battery (power, charge). Missing devices are created. Otherwise pick the sensors in each device's form by hand: meter = grid power in watts (+ = import), inverter = PV power, battery = power (+ = discharging) and charge in percent, wallbox = power and status.
- Check the signs: if the meter reports "export" at night or the battery charges without sun, a sensor counts the other way round. The energy balance says so and offers Flip the sign.
- Grid connection (optional): the grid cable runs there, e.g. to the end of the driveway. Without it the cable ends at the edge of your outdoor areas.
Several plants (roof and balcony) work: a second inverter, a second battery, each with its own sensor; the balcony field as a solar field on the wall or free-standing, assigned to a string with that inverter. Every further plant then gets its own hologram over its field. Batteries that report charging and discharging in two sensors (e.g. Anker Solix) take the discharging sensor as Power and the charging sensor as Charging power. The same for the meter: if it reports import and export separately (Growatt, Tibber Pulse, many Shelly templates), the import sensor goes into Power and the export sensor into Export power; a signed sensor does not need this. The power fields offer every sensor in W or kW, even without a device class. Put a solar sensor into the energy balance only if it reports the whole production – otherwise it overrides the sum of the inverters.
Cables
In the 3D view the ⚡ button of the energy bar switches the cables on. Thin cables with moving light dots show where the power flows right now; the dots are comets, so the direction is clear even on a still picture. Yellow solar (from the field through the roof, down the wall inside to the inverter), green battery (the direction turns between charging and discharging), blue wallbox, light blue the consumers in the house, cyan export and red-violet import, from the meter to the grid connection with a pin showing the value. More power means faster and denser dots.
Every cable finds its own way (dashed in the plan). To route it differently, say along the facade outside or under the ceiling: pick it in the Cables section and press Lay by hand, or just grab the dashed cable in the plan. Then you drag points, a click on the cable adds a point, a double click removes it, and Height above the floor sets where it runs. Several cables can run side by side to the meter this way. Fix protects a finished cable, Automatic again removes your way.
Living modules
The modules get a glowing cell structure with a band of light sweeping towards the eave, brighter and faster with more power. At night they rest. The power per field comes from the field's sensor, else from its string (shared by module count), else as a share of the total.
Hologram
In the house view a glass hologram hangs on the largest solar field (beside the house without one), joined by a glowing line. It shows PV now, today's yield and peak, the day curve since midnight (from the statistics of your PV sensor), with several plants a line per inverter, the battery with an arrow, grid, house, wallbox and the self-sufficiency bar. It keeps its size in the world, so it shrinks as you zoom out; from behind you see it mirrored. A tap folds it down to the big number. In the Hologram section you choose its field, size and offset.
Wall tablet: on the tablet level the hologram runs without the glass effect and the cables at half the frame rate.
When something is missing: the Setup list at the top of the tool shows what does not fit yet. No hologram usually means: no sensor on the inverter, or not the house view (floor and room views have none). No cable to a device: the device has no power sensor.